https://github.com/mbaljeetsingh/vuejs-blog-app
Vue.js is a javascript framework used for building user interfaces, Can be used for creating powerful single page applications if used with supporting libraries.
In this quick introduction, we will be creating simple blog application, while covering major Vue.js topics. So, let’s get started.
Installation
We can download the vue.js script file or use the CDN version and include it in the script tag in the HTML. As of writing, the current version is 2.1.10
<script src="https://cdnjs.cloudflare.com/ajax/libs/vue/2.1.10/vue.js"></script>
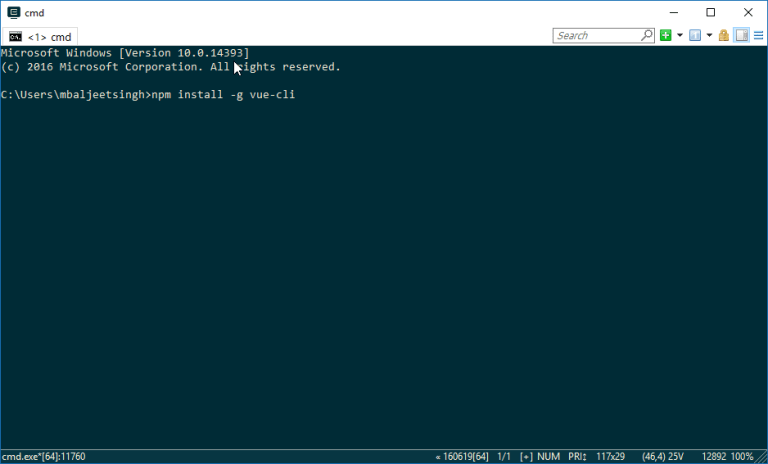
There is another way that I recommend for installing Vue.js is using Vue-cli. This is a simple command line interface for scaffolding Vue.js project.
First, run the following command from the command line npm install -g vue-cli, -g flag will make sure that the vue-cli will be installed globally on the system.
The next step is to create the new project using the webpack template And let’s give the app a name blogapp ue init webpack blogapp
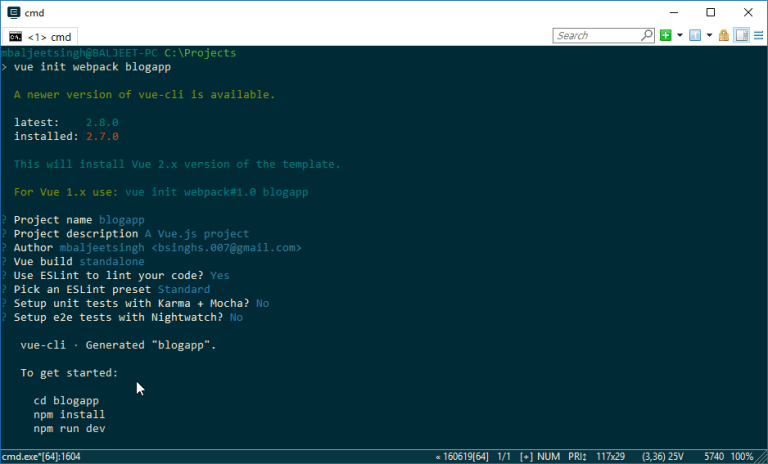
Now we need to install the dependencies using npm install and then run the application using npm run dev . This will start the local web server on port 8080 (or other open port) and the link will open in the default browser.

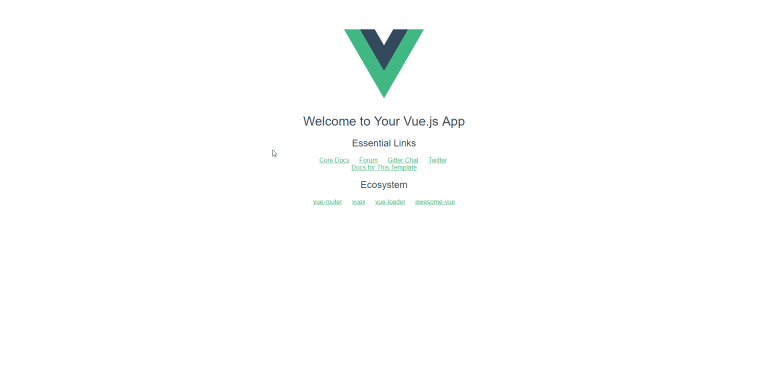
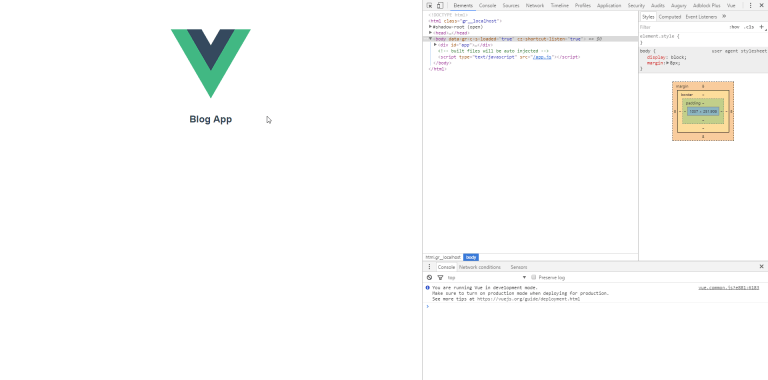
The starting page of the application will look like the following
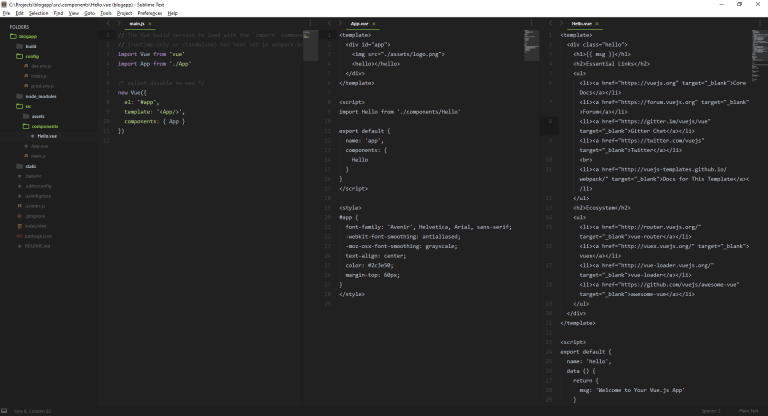
Let’s look at the code
The one folder that we’ll be focusing on is the src folder, where all the application specific code resides. In the following screenshot you can see, main.js is the file where we’re importing Vue and also we’re importing the app component from App.vue. In the main js we have a Vue instance new Vue({.....
- el is the element with the id of app (#app), that we are attaching the Vue instance to
- template here is the app component that we’re importing
- And then we need to list the components available
All the Vue components files have .vue extension. A simple Vue component consists of three parts (template, script, style). In the App.vue we’re importing and using the hello component as <hello></hello>
Adding Custom Component
Let’s create a new file under components->Blog.vue, and add the following code,
<template>
  <div class="blog">
    <h2>{{title}}</h2>
  </div>
</template>

<script>
  export default {
    name: 'blog',

    data() {
      return {
        title: 'Blog App',
      };
    },
  };
</script>

<!-- Add "scoped" attribute to limit CSS to this component only -->

<style scoped></style>
I have just copied the code from the Hello.vue and removed the bits that we don’t need. Here, we’re binding the title property in the template as Up & Running with Vue.js 2.0 by creating a simple blog application, so in place for the title, we’ll see Blog App.
Now we need to add that component in the App.vue
<template>
  <div id="app">
    <img src="./assets/logo.png" />

    <!-- <hello></hello> -->

    <blog></blog>
  </div>
</template>

<script>
  import Hello from './components/Hello';

  import Blog from './components/Blog';

  export default {
    name: 'app',

    components: {
      Hello,
      Blog,
    },
  };
</script>

<style>
  #app {
    font-family: 'Avenir', Helvetica, Arial, sans-serif;

    -webkit-font-smoothing: antialiased;

    -moz-osx-font-smoothing: grayscale;

    text-align: center;

    color: #2c3e50;

    margin-top: 60px;
  }
</style>
Now the output will look like this,
Congratulations, you have created your first custom Vue component.
Directives (Show All Posts)
Let’s add some blog posts data. Open Blog.vue and update the data () function as follows:
data () {
    return {
      title: 'Blog App',
      posts: [{
        'userId': 1,
        'id': 1,
        'title': 'sunt aut facere repellat provident occaecati excepturi optio reprehenderit',
        'body': 'quia et suscipit\nsuscipit recusandae consequuntur expedita et cum\nreprehenderit molestiae ut ut quas totam\nnostrum rerum est autem sunt rem eveniet architecto'
      },
      {
        'userId': 1,
        'id': 2,
        'title': 'qui est esse',
        'body': 'est rerum tempore vitae\nsequi sint nihil reprehenderit dolor beatae ea dolores neque\nfugiat blanditiis voluptate porro vel nihil molestiae ut reiciendis\nqui aperiam non debitis possimus qui neque nisi nulla'
      },
      {
        'userId': 1,
        'id': 3,
        'title': 'ea molestias quasi exercitationem repellat qui ipsa sit aut',
        'body': 'et iusto sed quo iure\nvoluptatem occaecati omnis eligendi aut ad\nvoluptatem doloribus vel accusantium quis pariatur\nmolestiae porro eius odio et labore et velit aut'
      }]
    }
  }
Here, we have added a posts property that currently holds three posts, each post has four properties namely userId, id, title, body.
Let’s try to show these posts as list that we can view, for this we can use a vue.js directive called v-for
<h2>{{title}}</h2>
<ul>
  <li v-for="post in posts">{{post.title}}</li>
</ul>
Now the output will look like,
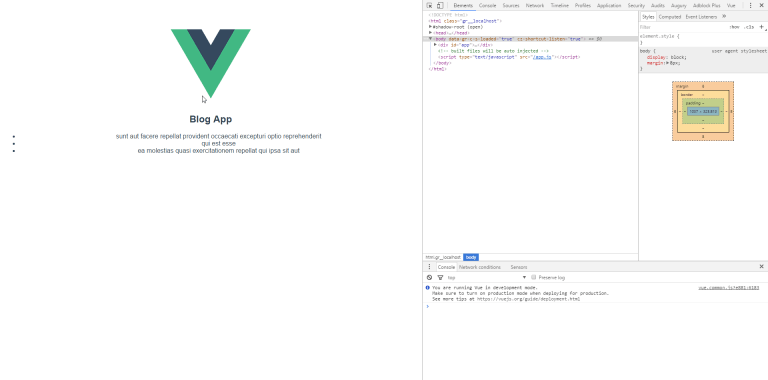
Here you can see, we’re showing the title from the posts data that we added.
Now let’s make it little bit cleaner by adding bootstrap. Include the bootstrap css in the head section of index.html
<link
  rel="stylesheet"
  href="https://maxcdn.bootstrapcdn.com/bootstrap/3.3.7/css/bootstrap.min.css"
/>
Now update the template section in the Blog.vue as follows,
<div class="blog container">
  <h2>{{title}}</h2>
  <hr />
  <div class="row">
    <div class="col-sm-6 col-md-4" v-for="post in posts">
      <div class="thumbnail">
        <img src="http://placehold.it/350x150" />
        <div class="caption">
          <h3>{{post.title}}</h3>
          <p>{{post.body}}</p>
          <p>
            <a href="#" class="btn btn-primary" role="button">Read More</a>
            <a href="#" class="btn btn-danger" role="button">Delete</a>
          </p>
        </div>
      </div>
    </div>
  </div>
</div>
Now the output looks like,
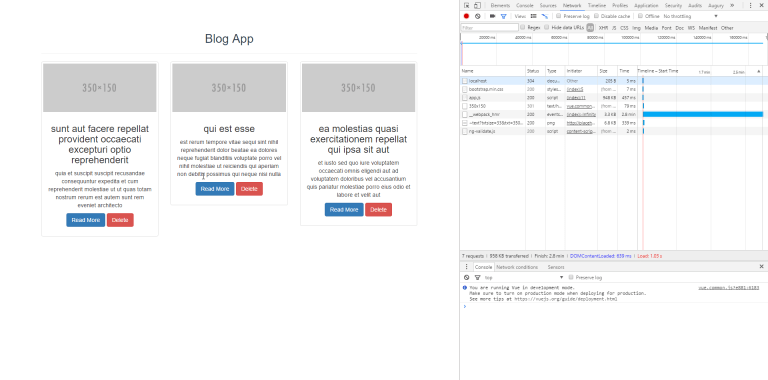
If you’re wondering about the Vue logo at the top, I have removed it from the App.vue 
Filters
Let’s see how we can make the blog post title uppercase, irrespective of its current case. For this, we can create a filter that does just that. Creating filters in Vue is very easy. We can add a filter in main.js, then we can access that filter globally anywhere in the app.
import App from './App';

Vue.filter('uppercase', function (value) {
  return value.toUpperCase();
});
Now to use that filter, we can use the Pipe | symbol, Open Blog.vue and update the template as follows:
<div class="caption">
  <h3>{{post.title | uppercase}}</h3>
</div>
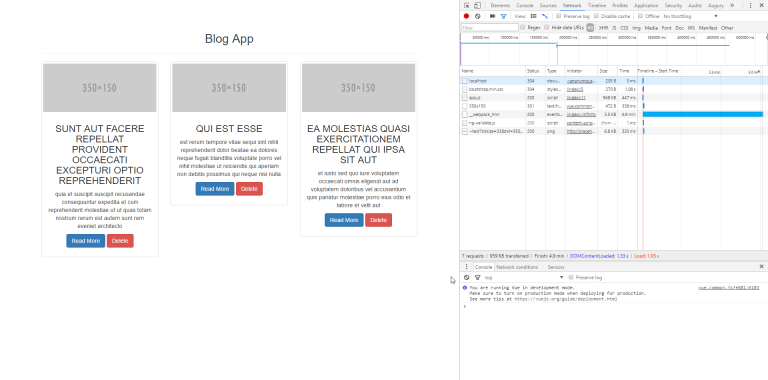
Now, the output will look like,
Events (Delete Post) In this section, we’ll try to add the delete post functionality. When the user clicks on delete button, the post will be deleted from the view. As we are not persisting data, so data will again come back when we refresh the page.
We can attach any javascript event on an element using v-on: followed by name of the event. e.g. v-on:click="function()"
Let’s update Blog.vue template as follows
<p>{{post.body}}</p>
...<a href="#" class="btn btn-danger" role="button" v-on:click="deletePost(post)">Delete</a></p>
We can now add deletePost(post) method in the methods property in the Vue instance,
{
        'userId': 1,
        'id': 3,
        'title': 'ea molestias quasi exercitationem repellat qui ipsa sit aut',
        'body': 'et iusto sed quo iure\nvoluptatem occaecati omnis eligendi aut ad\nvoluptatem doloribus vel accusantium quis pariatur\nmolestiae porro eius odio et labore et velit aut'
      }]
    }
  },
  methods: {
    deletePost: function (post) {
      console.log(post)
      this.posts.splice(this.posts.indexOf(post), 1)
    }
  }
Now when the user clicks on delete post on a certain post, the post will get deleted.
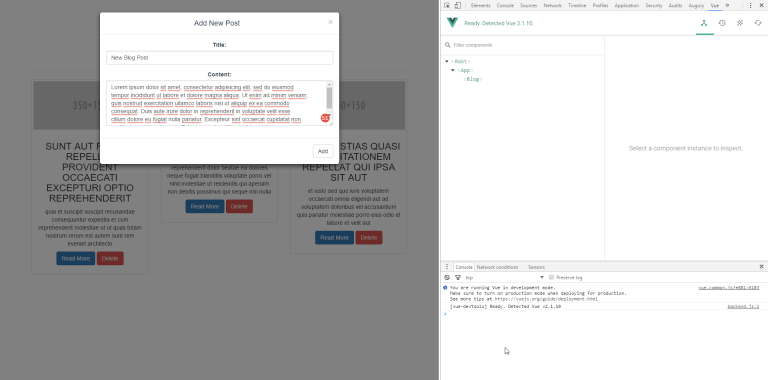
Add New Post
In this section, we’ll try to implement Add New Post functionality. We’ll use a bootstrap modal for this. When user clicks on a new post button, we’ll open a bootstrap modal which will have a form in which we can enter title and body of the post and click Add button.
Let’s update Blog.vue with the following code,
<h2>{{title}}</h2>
<!-- Trigger the modal add post with a button -->
<button
type="button"
class="btn btn-primary"
data-toggle="modal"
data-target="#addNewPost"
>
New Post
</button>
<!-- Add Post -->
<div id="addNewPost" class="modal fade" role="dialog">
<div class="modal-dialog">
<!-- Add Post Content-->
<div class="modal-content">
<div class="modal-header">
<button type="button" class="close" data-dismiss="modal">
×
</button>
<h4 class="modal-title">Add New Post</h4>
</div>
<div class="modal-body">
<div class="form-group">
<label for="title">Title:</label>
<input
type="title"
class="form-control"
id="title"
v-model="newPost.title"
/>
</div>
<div class="form-group">
<label for="body">Content:</label>
<textarea
class="form-control"
rows="5"
id="body"
v-model="newPost.body"
></textarea>
</div>
</div>
<div class="modal-footer">
<button
type="button"
class="btn btn-default"
data-dismiss="modal"
v-on:click="AddPost()"
>
Add
</button>
</div>
</div>
</div>
</div>
Also, let’s add AddPost method in the Vue instance,
methods: {
    deletePost: function (post) {
      console.log(post)
      this.posts.splice(this.posts.indexOf(post), 1)
    },
    AddPost: function () {
      this.posts.push({
        'userId': 1,
        'id': this.posts.length + 1,
        'title': this.newPost.title,
        'body': this.newPost.body
      })

      this.newPost = {}
    }
  }
We also need to include jQuery & bootstrap.js in the index.html head section
<head>
  <meta charset="utf-8" />
  <link
    rel="stylesheet"
    href="https://maxcdn.bootstrapcdn.com/bootstrap/3.3.7/css/bootstrap.min.css"
  />
  <script src="https://cdnjs.cloudflare.com/ajax/libs/jquery/3.1.1/jquery.js"></script>
  <script src="https://maxcdn.bootstrapcdn.com/bootstrap/3.3.7/js/bootstrap.min.js"></script>
  <title>blogapp</title>
</head>
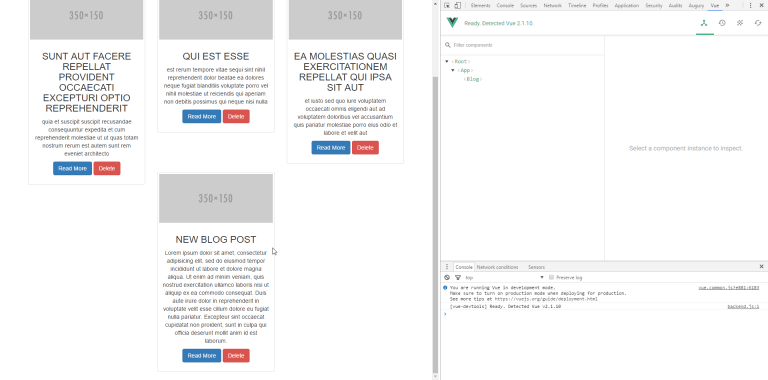
The output will look like,
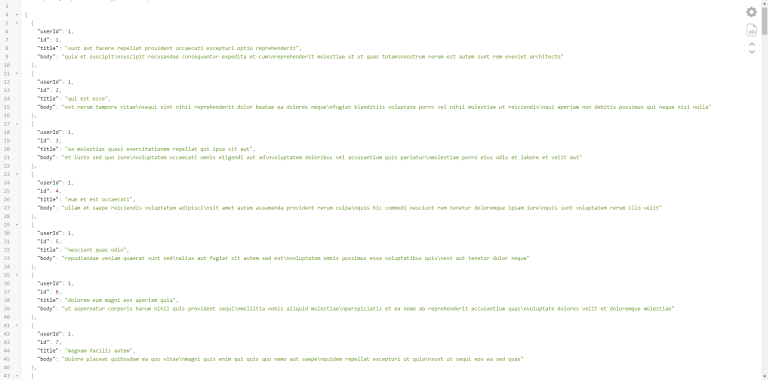
vue-resource We can use vue-resource for sending ajax request to external server. Here we’ll try to fetch the blog posts from https://jsonplaceholder.typicode.com/posts
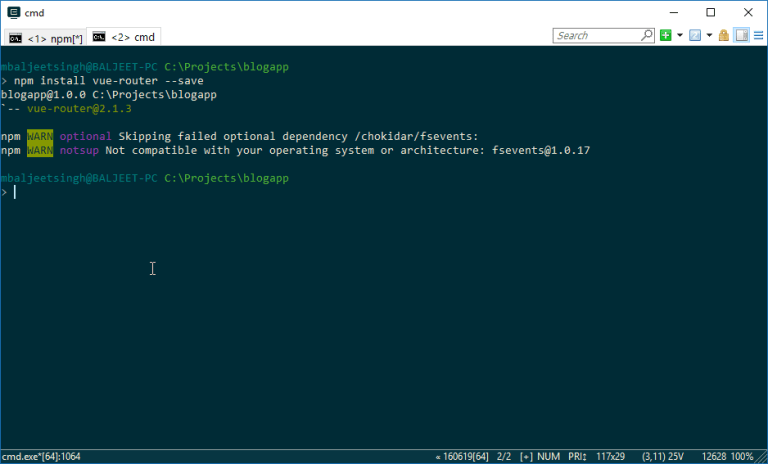
First, we need to install the vue-resource using npm install vue-resource --save

Now update the main.js file,
...
import App from './App'
import VueResource from 'vue-resource'

Vue.use(VueResource)

Vue.filter('uppercase', function (value) {
...
Vuejs provides various lifecycle hooks, we can use the created lifecycle hook. It is called after the instance is created. We can update the Vue instance in Blog.vue as follows,
...
      this.newPost = {}
    }
  },
  created: function () {
    this.$http.get('https://jsonplaceholder.typicode.com/posts').then(function (response) {
      // console.log(response.data);
      this.posts = response.data
    })
  }
...
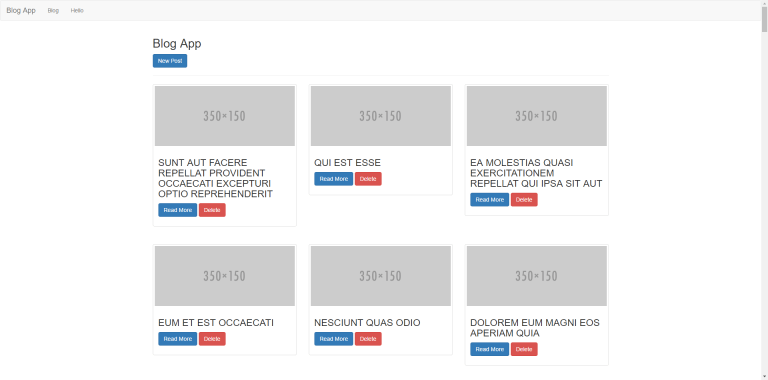
Now we’re using the data from the server, the output in the browser will look like,
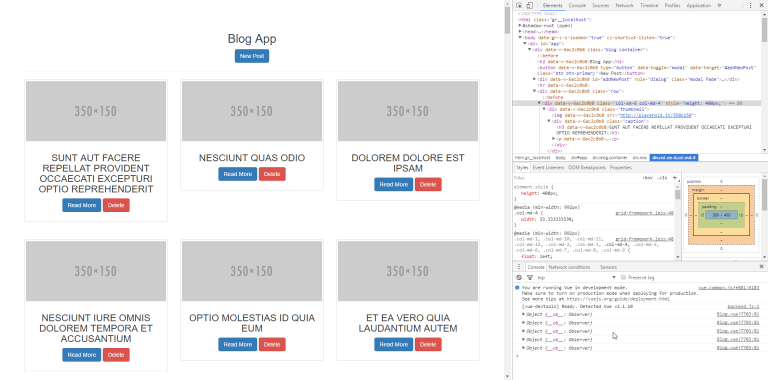 I have removed the body below the title intentionally, we’ll use in the blog-detail page.
vue-router In a single page application, we navigate to different routes without refreshing the browser. Vue-router allows us to do that very easily.
First, we need to install the vue-resource using npm install vue-router --save
Now Update the main.js file as follows,
// The Vue build version to load with the `import` command
// (runtime-only or standalone) has been set in webpack.base.conf with an alias.
import Vue from 'vue';
import Blog from './components/Blog';
import Hello from './components/Hello';
import VueResource from 'vue-resource';
import VueRouter from 'vue-router';

Vue.use(VueResource);
Vue.use(VueRouter);

Vue.filter('uppercase', function (value) {
  return value.toUpperCase();
});

const routes = [
  { path: '/', component: Blog },
  { path: '/hello', component: Hello },
];

const router = new VueRouter({
  mode: 'history', //removes # in the url
  routes, // short for routes: routes
});

/* eslint-disable no-new */
new Vue({
  router,
  template: `
  <div id="app">
   <nav class="navbar navbar-default">
    <div class="container-fluid">
    <div class="navbar-header">
      <a class="navbar-brand" href="#">Blog App</a>
    </div>
    <ul class="nav navbar-nav">
      <li><router-link to="/">Blog</router-link></li>
      <li><router-link to="/hello">Hello</router-link></li>
    </ul>
    </div>
   </nav>

    <router-view></router-view>
  </div>
  `,
}).$mount('#app');
Here, we’re importing vue-router similar to we did with vue-resource. Next, we have created a constant for defining our app routes. Then we have a VueRouter instance.
In the template, we’re using directive, this section will update when we browse to different views. Also, we’re using Nav-Item directive to link to different views in the app.
Now the app will look like,
Wrapping Up
Hope, This will help you get started with Vue. If there are any doubts, you can ask in the comments section below.
Thanks.